Transforming your camper bathroom doesn’t have to be expensive or overwhelming. A well-executed DIY camper bathroom remodel can refresh your space, add functionality, and make your adventures more comfortable — all without breaking the bank. Whether you’re traveling full-time or enjoying seasonal road trips, this 2025 guide will walk you through smart upgrades, budget-friendly design ideas, and actionable remodeling steps tailored to small RV or camper spaces.
Why Remodel Your Camper Bathroom?
Camper bathrooms are often neglected when it comes to upgrades, but they play a huge role in comfort and hygiene. Over time, issues like water damage, mold, outdated fixtures, and limited space can make the bathroom a frustration rather than a convenience.
Benefits of a DIY Remodel:
- Save money compared to hiring RV renovation services.
- Customize to your style and space needs.
- Improve water efficiency and storage.
- Boost resale value of your camper or RV.
Planning Your DIY Camper Bathroom Remodel
Before picking up your tools, start with a plan.
1. Assess Your Existing Space
- Check for water damage behind walls or floors.
- Identify plumbing and electrical locations.
- Take measurements of every fixture and space (don’t forget ceiling height).
2. Set a Realistic Budget
On average, a DIY camper bathroom remodel can cost between $300 to $2,000, depending on the extent of upgrades. Create a breakdown:
- Fixtures (toilet, sink, shower): $200–$800
- Flooring: $50–$200
- Paint & sealant: $30–$100
- Plumbing/Electrical materials: $50–$300
- Tools (if needed): $50–$150
Affordable DIY Remodel Ideas for 2025
1. Upgrade to a Composting Toilet
Perfect for boondocking and reducing black tank use, modern composting toilets are easy to install and eco-friendly.
2. Install Peel-and-Stick Vinyl Flooring
Waterproof, lightweight, and super DIY-friendly, vinyl tiles instantly modernize your floor without major labor.
3. Paint or Refinish Walls
Use mold-resistant, lightweight paint. For a rustic look, try faux shiplap using luan board or vinyl panels.
4. Swap Out the Shower Head
Install a high-efficiency RV shower head with adjustable flow. It’s easy and drastically improves water usage and comfort.
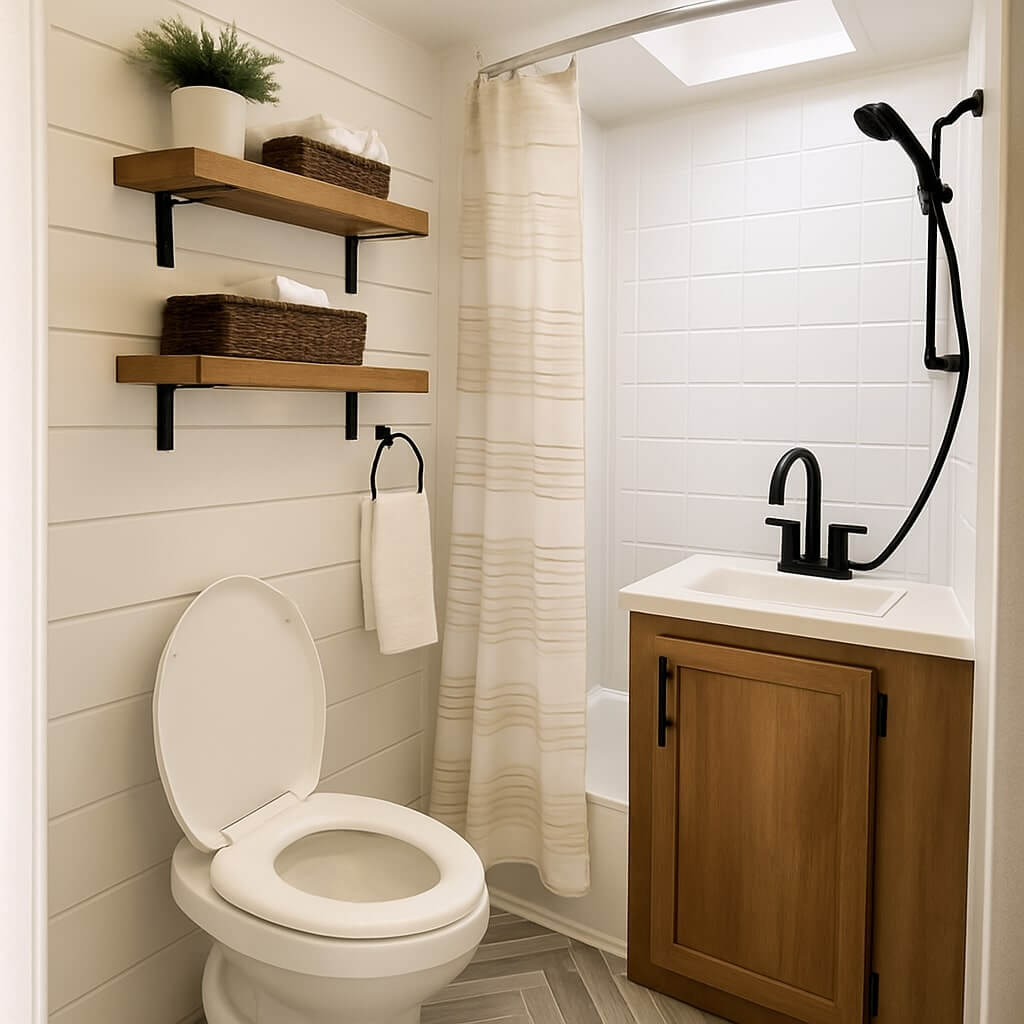
5. Add Open Storage Solutions
Floating shelves, wall baskets, or over-the-door caddies are excellent space savers in tiny camper bathrooms.
Step-by-Step DIY Camper Bathroom Remodel
Step 1: Demolition
- Remove old fixtures (toilet, sink, etc.)
- Peel off outdated wall panels or flooring
- Inspect for mold or water damage
Step 2: Prep & Repair
- Patch holes, reinforce flooring, and seal leaks
- Clean thoroughly and apply mold/mildew treatment
- Repaint walls with RV-safe paint
Step 3: Flooring
- Install lightweight, waterproof vinyl planks or peel-and-stick tiles
- Make sure flooring edges are sealed
Step 4: Fixture Installation
- Install the new toilet and connect plumbing
- Replace the sink, faucet, and connect water lines
- Mount a new shower head or panel if desired
Step 5: Storage & Finishing Touches
- Mount shelves, towel holders, and organizers
- Add décor touches like LED lighting, mirrors, or plants
- Caulk edges and corners for waterproofing
Maintenance Tips After Remodeling
- Always dry out the space after showers to prevent moisture buildup.
- Check seals, plumbing, and fixtures monthly.
- Use water-saving accessories to extend tank life.
Frequently Asked Questions (FAQ)
many updates like flooring, painting, and installing shelves can be done around existing fixtures. However, replacing old toilets enhances sanitation and space efficiency.
Peel-and-stick vinyl tiles or luxury vinyl planks are ideal — they’re waterproof, easy to install, and lightweight.
Ensure proper ventilation, seal all joints, and use mildew-resistant paint. Consider a small exhaust fan or moisture absorber for humid environments.
Generally, no permit is needed for a DIY camper remodel unless you’re altering the frame or electrical system significantly. Always check local RV park or campground rules.
Basic tools like a screwdriver, drill, utility knife, sealant gun, and measuring tape are usually sufficient. A jigsaw may be needed for custom cuts.
Conclusion
Remodeling your camper bathroom in 2025 is not only achievable but can also be deeply rewarding. With creativity, a solid plan, and a modest budget, you can transform your compact space into a functional and stylish retreat. Whether it’s a weekend warrior van or a full-time RV, these DIY tips will help you make the most of every square inch.