Are you ready to transform your camper’s outdated, cramped bathroom into a space that’s both functional and beautiful? Whether you’re a seasoned DIYer or tackling your first camper renovation, having a clear and comprehensive bathroom remodel list is essential for a smooth, stress-free project. In this guide, we’ll break down everything you need — from planning to finishing touches — to ensure your DIY camper bathroom remodel turns out just the way you envision.
Why Remodel Your Camper Bathroom?
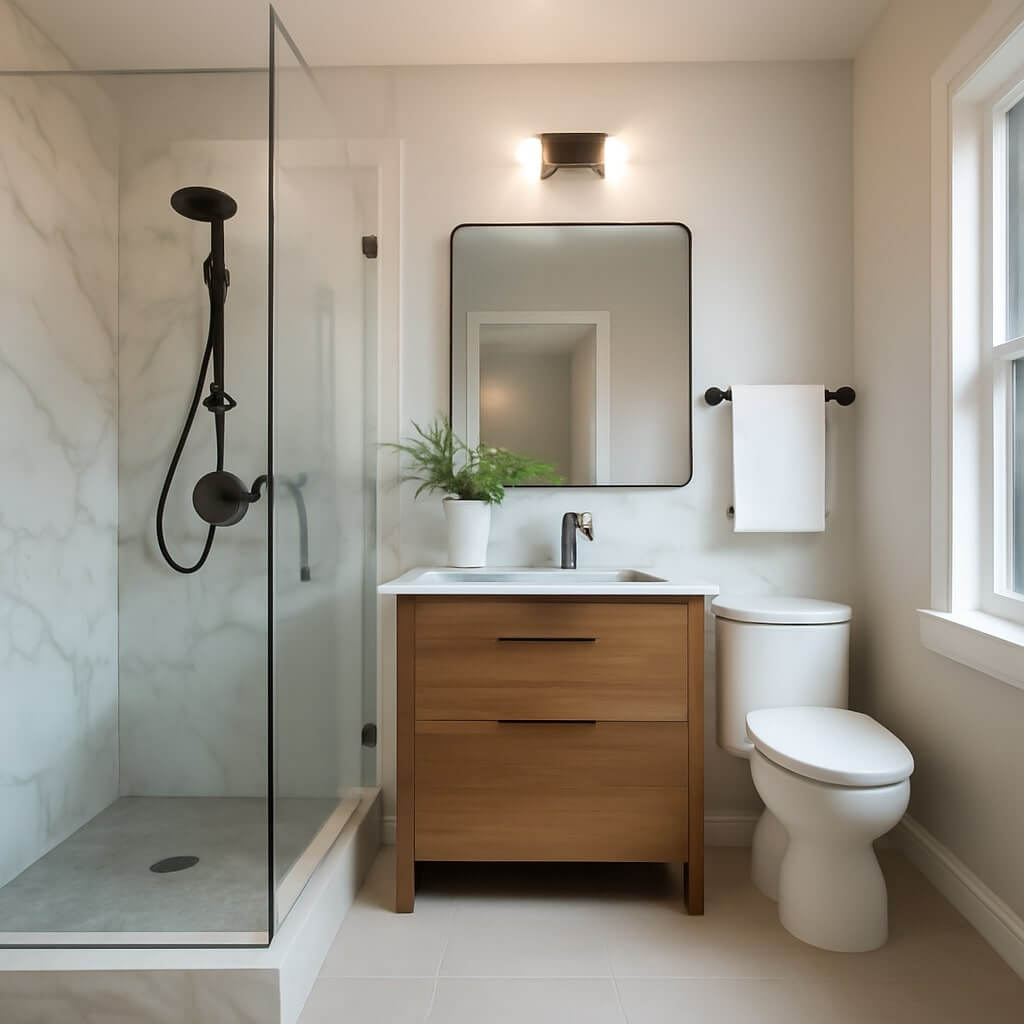
A camper bathroom might be small, but it’s one of the most important areas in your RV or van. Renovating this space not only improves comfort and usability but can also boost your camper’s resale value and enhance your travel experience. Whether you’re updating outdated fixtures or creating a spa-like oasis on wheels, a well-planned remodel is worth the investment.
The Ultimate Bathroom Remodel List: What You’ll Need
Before you dive into demolition, it’s crucial to gather the right tools, materials, and fixtures. Here’s a comprehensive bathroom remodel checklist specifically tailored for campers and RVs:
1. Planning & Design
- Measure your bathroom space accurately
- Create a floor plan or sketch
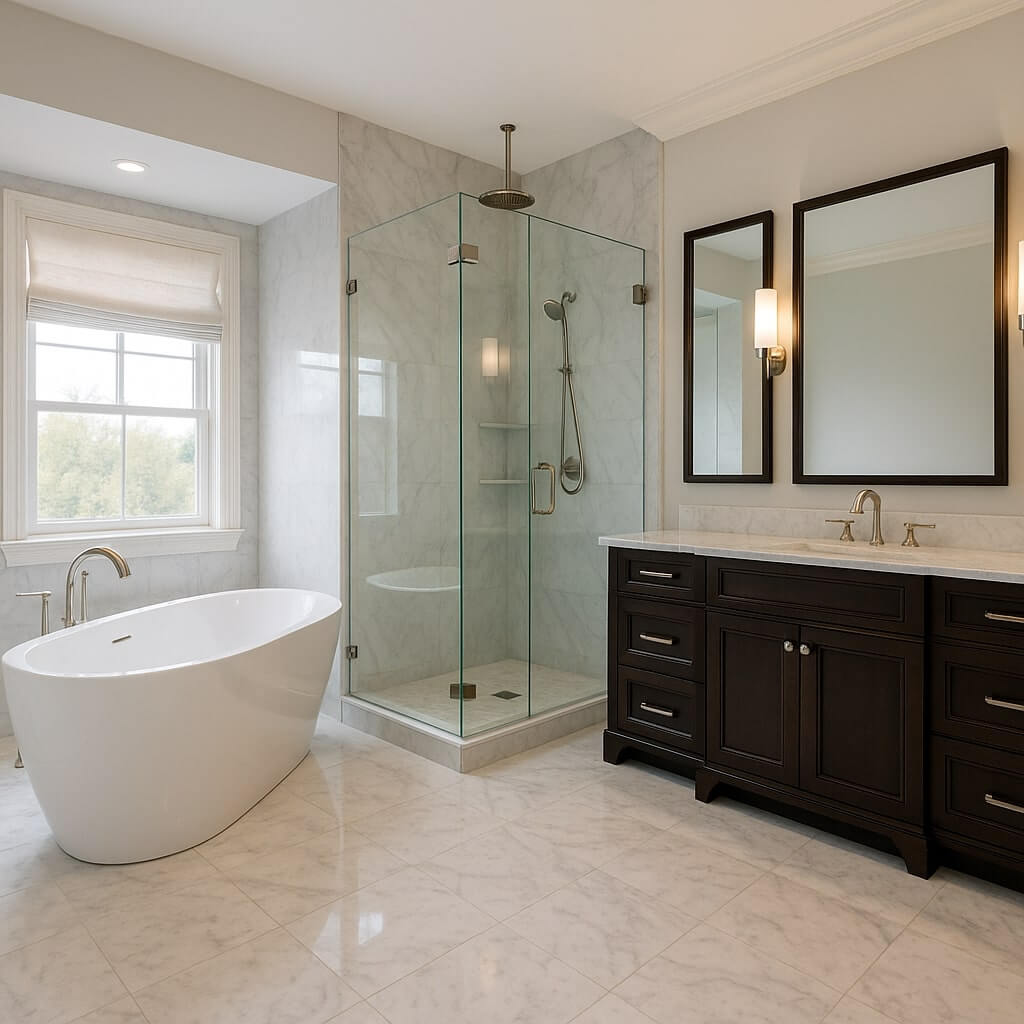
- Choose a design style (modern, rustic, minimalist, etc.)
- Decide on color schemes and finishes
- Research space-saving fixtures and camper-friendly materials
Pro Tip: Use lightweight, moisture-resistant materials to prevent issues on the road.
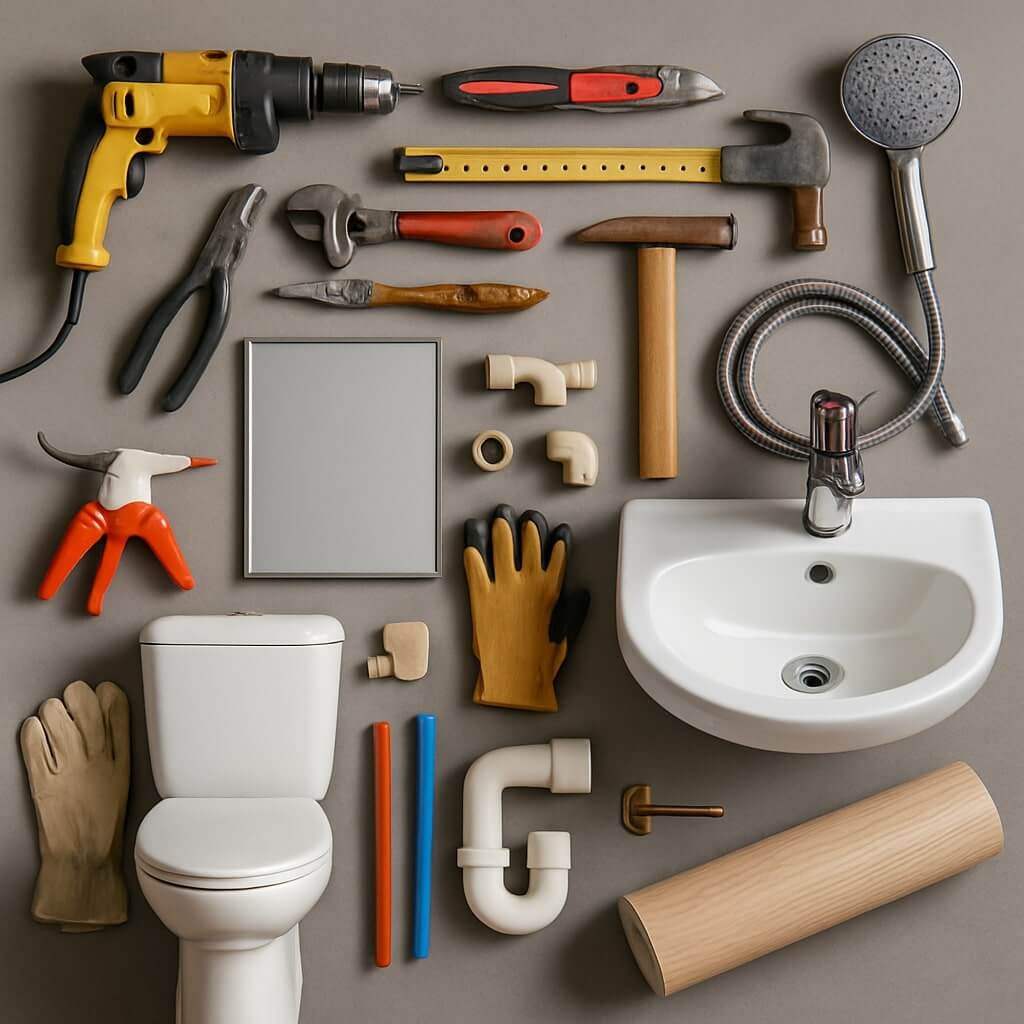
2. Tools & Supplies
- Screwdrivers (manual and electric)
- Pliers and adjustable wrench
- Utility knife
- Sealant and caulk gun
- Tape measure
- Level
- Safety gear (gloves, goggles, dust mask)
- Multi-surface adhesive
- Silicone sealant (waterproof)
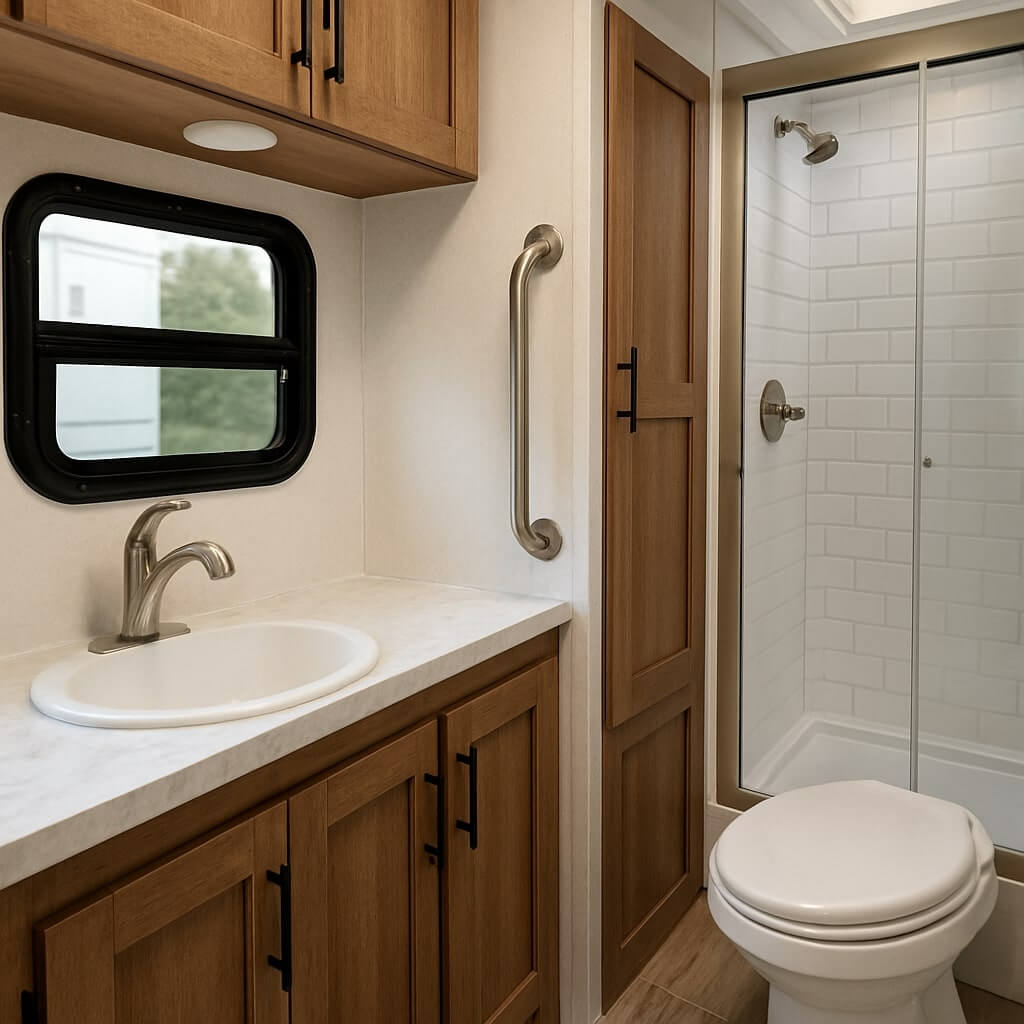
3. Fixtures & Hardware
- Compact RV toilet (gravity-flush, composting, or cassette type)
- Lightweight, low-flow showerhead
- Space-saving vanity or corner sink
- Faucet with flexible connections
- Waterproof mirror
- Storage shelves or hanging organizers
- Towel hooks and toilet paper holder
Optional Upgrades:
- LED lighting
- Vent fan or skylight
- Tankless water heater
4. Wall, Floor & Ceiling Materials
- PVC wall panels or peel-and-stick waterproof wallpaper
- Vinyl plank flooring or marine-grade laminate
- Mold-resistant ceiling panels or paint
5. Plumbing & Electrical Essentials
- Freshwater and waste hose connections
- PEX tubing and push-fit connectors
- Electrical wire and switches (if relocating lighting or outlets)
- Waterproof junction boxes
Steps to Remodel Your Camper Bathroom
Follow this streamlined process for a hassle-free DIY camper bathroom renovation:
Step 1: Demolition
- Remove old fixtures carefully
- Strip out flooring and wall coverings
- Cap off plumbing and electrical safely
Step 2: Plumbing and Electrical Prep
- Relocate plumbing and electrical if needed
- Replace old PEX pipes or wiring
- Install new venting or lighting connections
Step 3: Install New Walls and Flooring
- Apply moisture-resistant wall panels or coverings
- Lay new vinyl or laminate flooring
- Seal all edges with waterproof caulk
Step 4: Install Fixtures
- Mount toilet, sink, and shower
- Connect plumbing lines securely
- Test for leaks before finalizing
Step 5: Finishing Touches
- Install lighting, shelves, and hardware
- Add decorative touches like plants or wall art
- Seal any remaining joints or gaps
Common Mistakes to Avoid in a Camper Bathroom Remodel
- Skipping measurements: Always double-check before cutting or ordering materials.
- Using heavy materials: Choose lightweight options to avoid adding unnecessary weight to your camper.
- Neglecting ventilation: Proper airflow prevents mold and mildew buildup.
- Overcomplicating the design: Simplicity maximizes functionality in small spaces.
FAQ: DIY Camper Bathroom Remodel
On average, a DIY camper bathroom remodel can cost between $500 to $2,500, depending on the materials and upgrades you choose.
Waterproof, lightweight options like vinyl plank, marine-grade laminate, or peel-and-stick tiles work best.
No — camper toilets are designed for RV plumbing systems and waste holding tanks. Always use an RV-specific toilet.
Typically, no permit is required for personal camper renovations, but check local regulations if you plan to sell or rent it out.
Most projects can be completed in 3–7 days, depending on complexity and available tools.
Conclusion
A well-planned DIY camper bathroom remodel can dramatically enhance your travel lifestyle while adding value to your camper. By following this ultimate bathroom remodel list, you’ll have a clear roadmap from demolition to decoration. Remember to choose lightweight, water-resistant materials and prioritize functionality in your design.
Whether you’re upgrading your fixtures, refreshing the look, or overhauling the entire space, this comprehensive guide ensures your camper bathroom renovation is a total success. So grab your tools, make your plan, and start creating a space you’ll love to use on every adventure.